Final Image Preview

Start working by creating a new document (Ctrl+N) in Adobe Photoshop CS6 with the size 1000px by 1000px (RGB color mode) at a resolution of 72 pixels/inch. Use the Paint Bucket Tool (G) to fill with #610B18 color the new background layer.

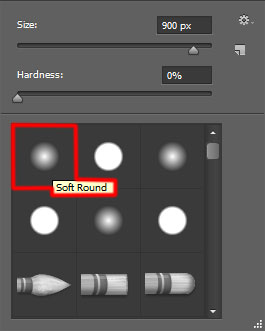
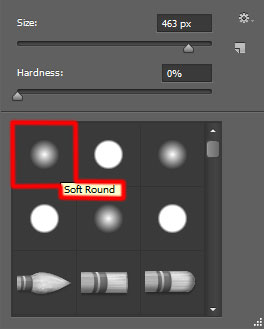
Create a new layer and select the Soft Round brush.

Use this brush to paint the background with the color #FF2D64 (set brush Opacity to 20% in Options bar).

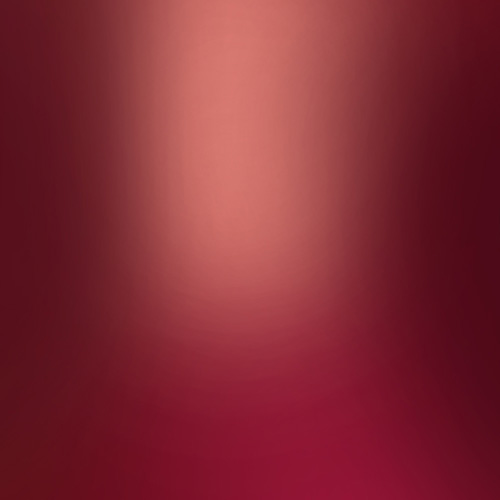
Create another new layer and select the mentioned brush above to paint the background with this color #FE2000 (brush Opacity – 15%).
Create a new layer and select on it the Soft Round brush to paint the background, this time with #5C1722 (brush Opacity – 20%).
We’ve got the next result:
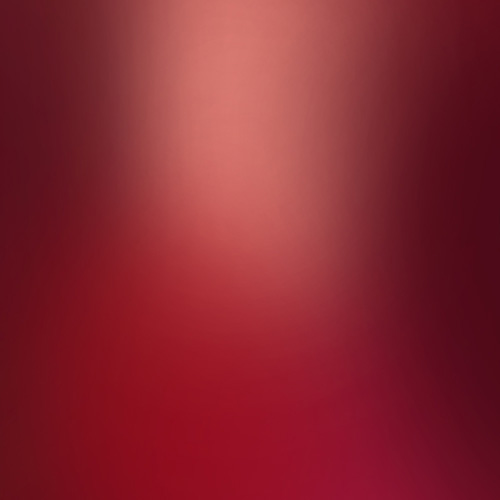
Create the next new layer and apply the same Soft Round brush to continue painting the background with the color #CF0012 (brush Opacity – 15%).
We’ve got the next background:
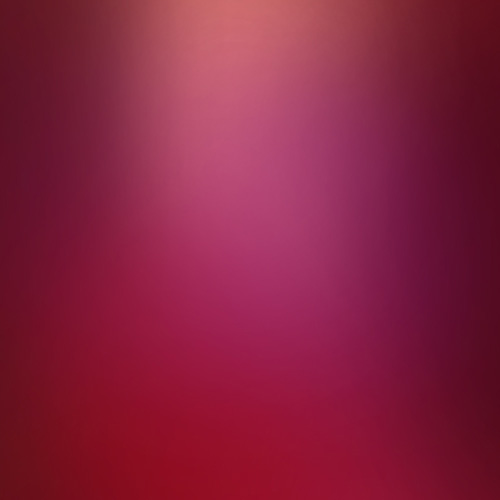
Add create another new layer, applying on it the Soft Round brush from above mentioned example to paint the layer of this color #D200BE (brush Opacity – 15%).
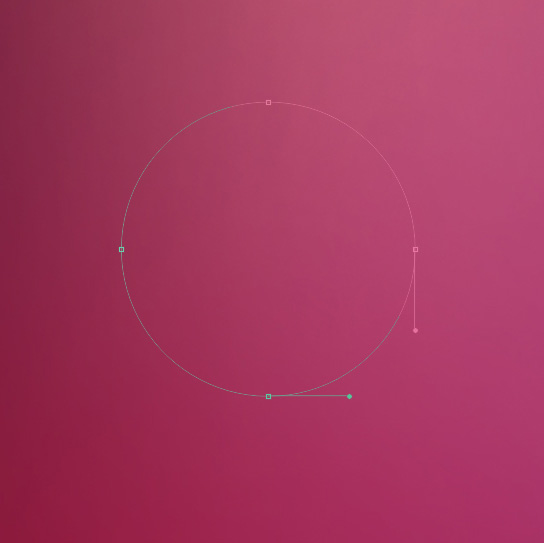
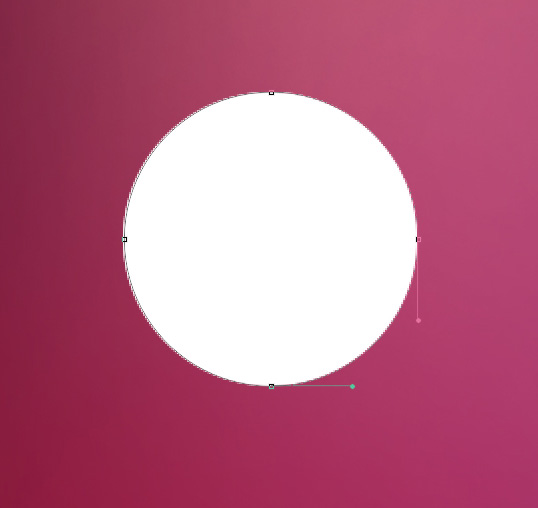
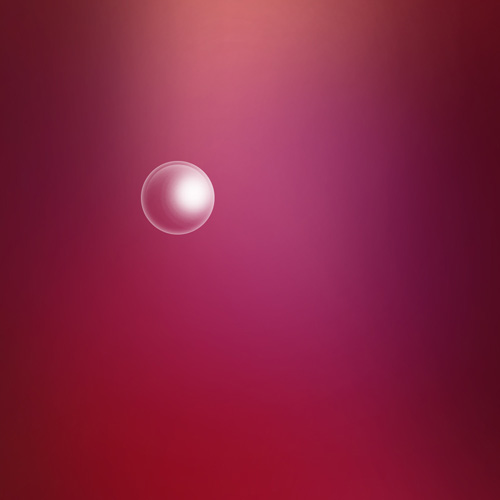
Next we’ll select the Ellipse Tool (U) to draw a small circle.
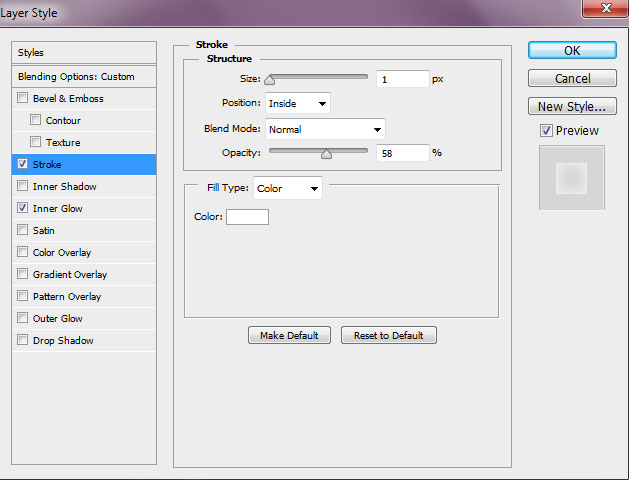
Set Fill to 0% for this layer and click on Add a layer style icon from bottom part of the Layers panel to select Stroke.
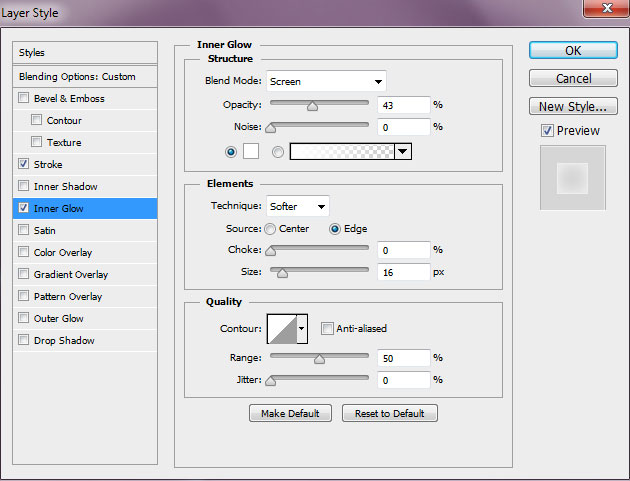
Add Inner Glow:
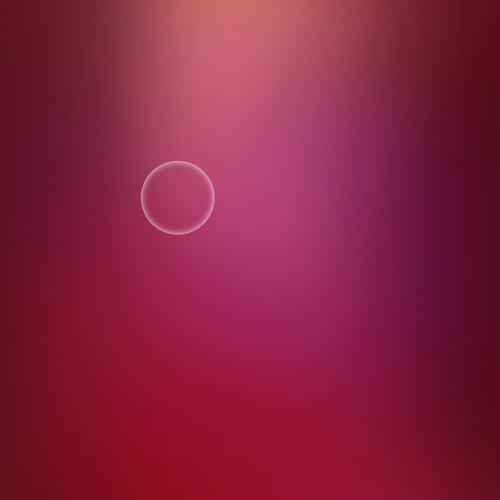
We’ve got the next bubble:
Make a copy of the last represented layer (CTRL+J) and fill the circle with white color (Fill – 100%).
On the last made layer we’ll insert the mask by choosing Add layer mask on the bottom part of the Layers panel and press CTRL+I to Inverse the color.
Choose the Soft Round brush of white color and paint in the mask to get the next highlight on the circle.
Make a copy of the last made layer and select the Free Transform (Ctrl+T) command to make smaller the copy, exactly as it is shown below.
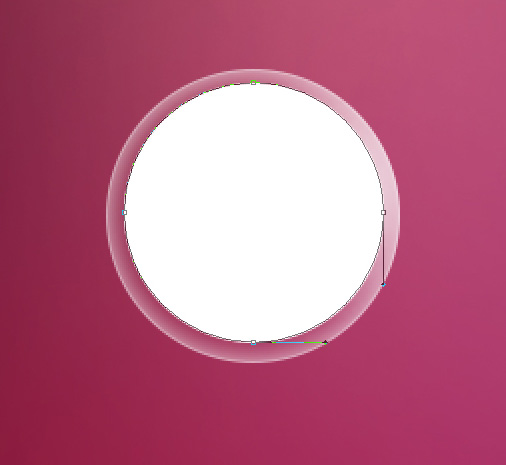
Insert the mask on this layer and select again the Soft Round brush of black color mentioned in the previous example, paint in the mask to hide the layer content as it is represented below.
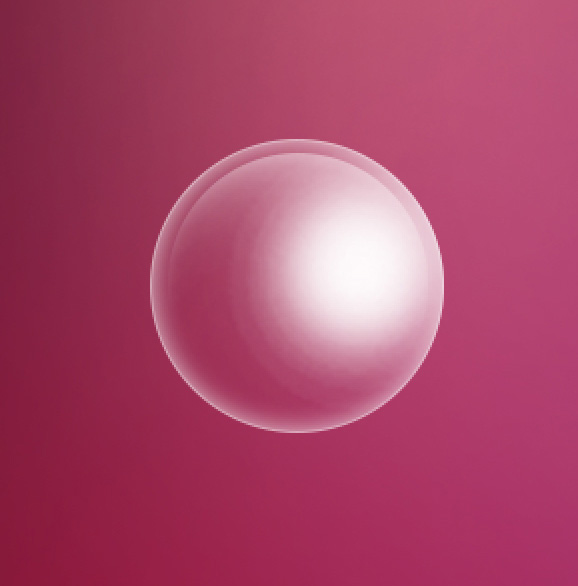
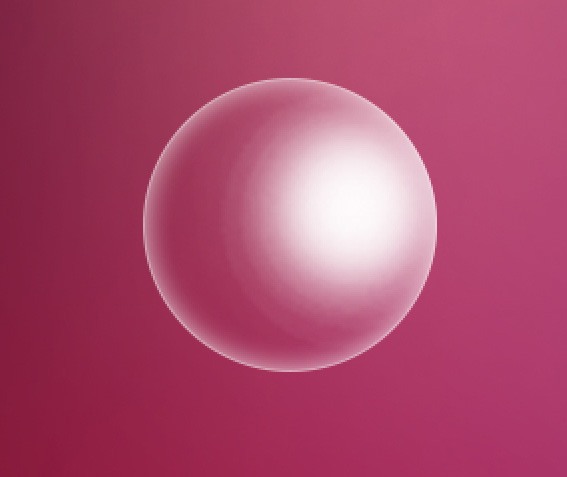
We’ve got the next air bubble:
Combine in a group all the layers composing the air bubble (press CTRL button to select the necessary layers in Layers panel and then press CTRL+G to Create a new group).
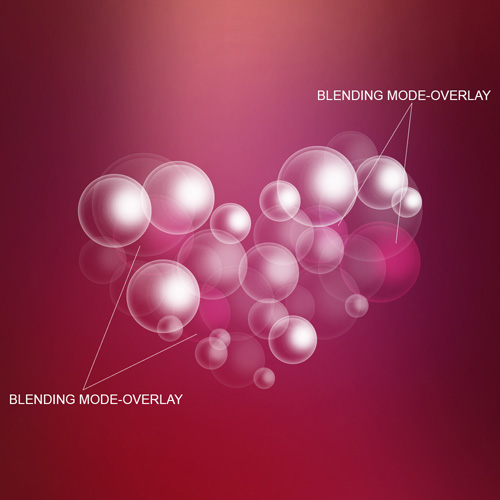
Make many copies of the got group and select the Free Transform (Ctrl+T) command to change the copies’ sizes, placing them as it is represented below, getting the shape of a heart. We need also to apply a different Fill value on several groups. On other ones we’ll change the Blending mode to Overlay.