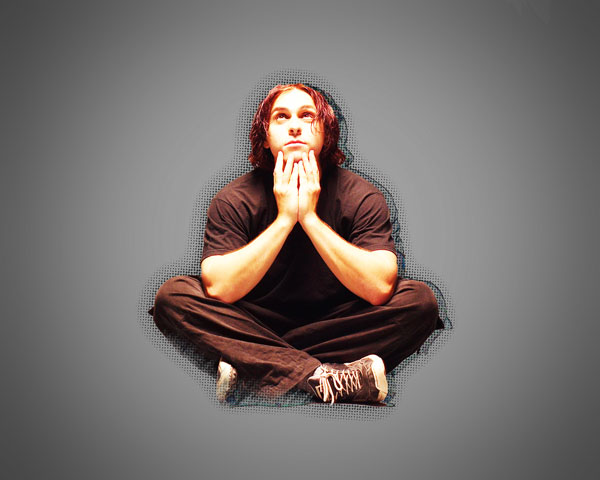
Final Image Preview
Start working by creating a new document (Ctrl+N) in Adobe Photoshop with the size 1280px by 1024px (RGB color mode) at a resolution of 72 pixels/inch. Use the Paint Bucket Tool (G) to fill with #353535 color the new background layer.

Create a new layer and select the Soft Round brush from Brush Tool (B).
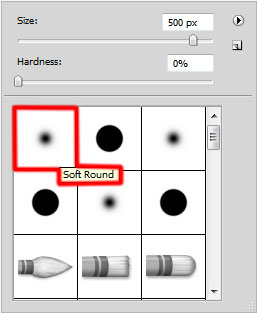
Use this brush to paint on the canvas with #A2A2A2 color as shown.

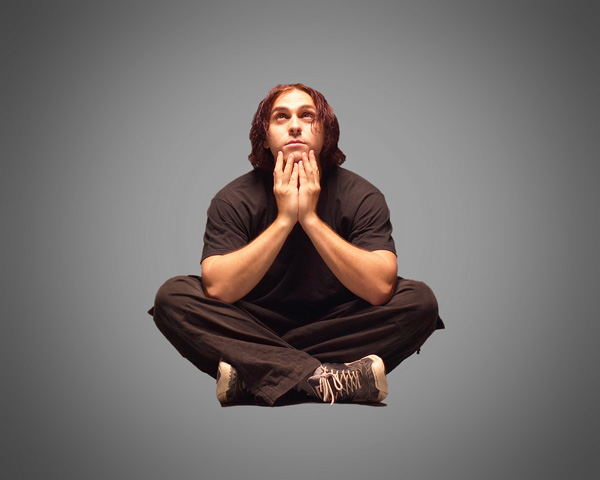
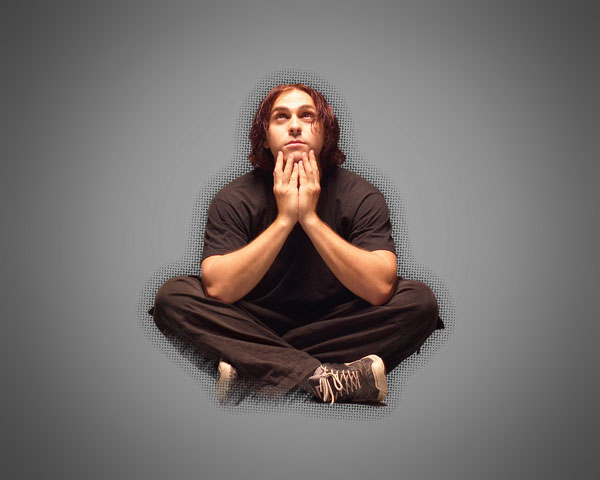
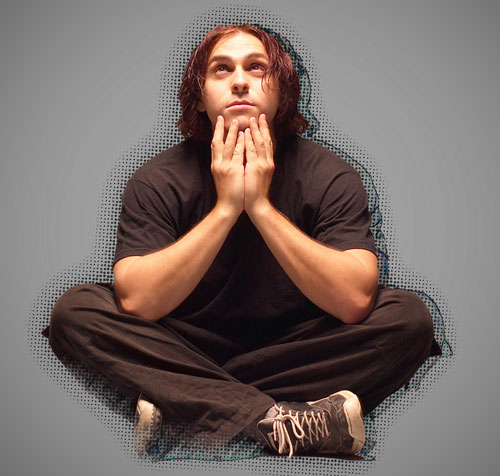
Find a stock photo with a model represented on it, I used this photo from deviantart. I would like to thank the author of this photo, or if you prefer, you can substitute similar image of your own.
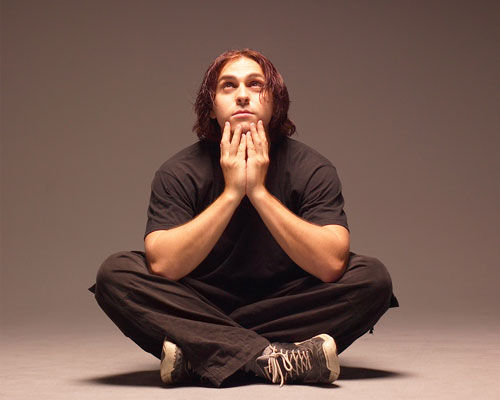
Remove the background using your favorite tools like Pen Tool (P), Magic Wand Tool (W), Magnetic Lasso (L) or even a simple Filter>Extract and insert it on a new layer in our main document.
Insert the mask on the model’s layer by choosing Add layer mask on the bottom part of the Layers panel and choose the Flat Curve Thin Stiff Bristles brush of black color.
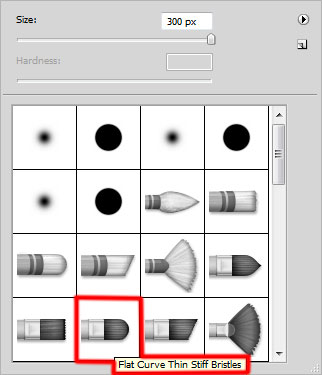
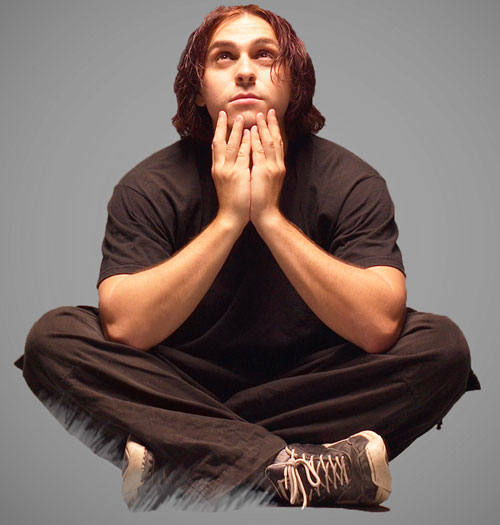
Paint in the mask using this brush with different Opacity values and brush’s sizes to hide the next zones as it is demonstrated below:
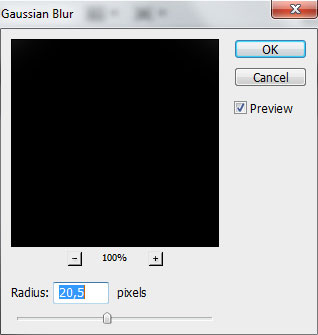
Create a new layer and choose the Paint Bucket Tool (G) to fill it with white color. Place the layer under the model’s one. Press CTRL button and click on the model’s layer. This way we’ll get the next selection. Hide for a while the models’s layer and fill the selection with black color, applying the Paint Bucket Tool (G).

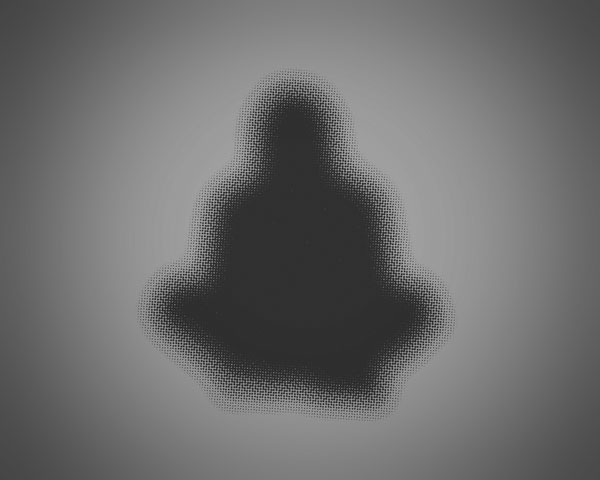
Apply on the layer the next filter: Filter > Blur > Gaussian blur.
We’ve got the next result:

Select for the same layer the next filter: Filter > Pixelate > Color Halftone.

We’ve got the next result:
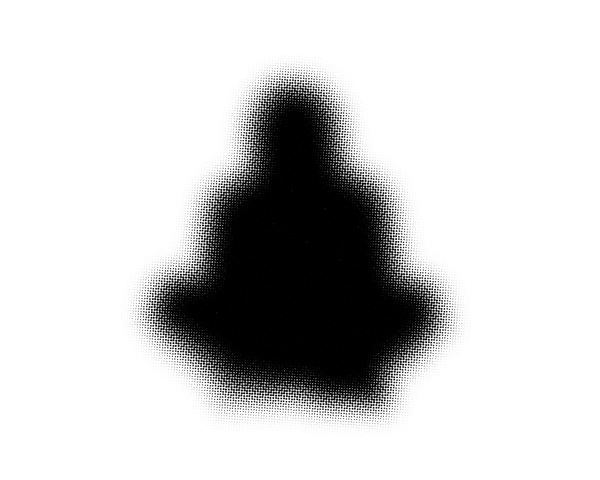
Set Fill to 0% for this layer and change the Blending mode for this layer to Darker Color.
Make visible again the model’s layer:
Make a copy of the model’s layer and apply on it the next filter: Filter > Filter Gallery > Stylize > Glowing Edges.

We’ve got the next result:
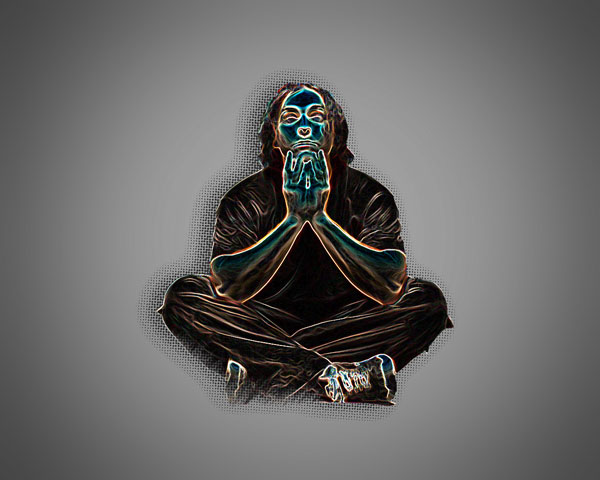
Place this layer under the model’s layer. Make two copies of it. For a better result we have to combine in a group all those three layers with the Glowing Edges filter (press CTRL button to select the necessary layers and hold on the left mouse’s button while dragging the selected layers on Create a new group icon from bottom part of the Layers panel). Choose after that the Free Transform (Ctrl+T) command and move the group to the right, comparing with the man’s layer. Set the Blending mode for this layer to Difference.
Click Create new fill or adjustment layer from bottom part of the Layers panel and click to Curves to adjust the curve shape as shown to make a little color corrections.
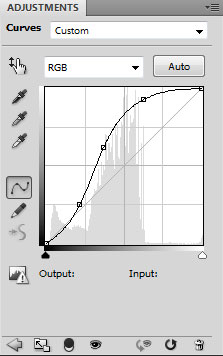
We’ve got the next result:
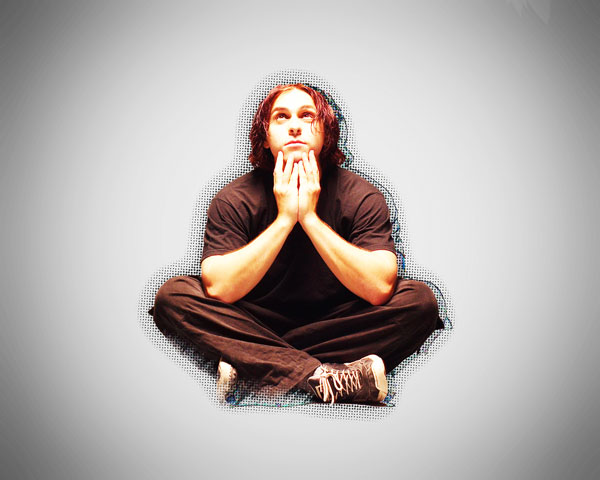
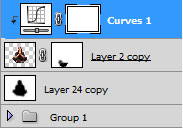
Hold down Alt (Windows) or Option (Mac OS) and click between model’s layer and Curves adjustment layer in the Layers panel to create a clipping mask.
We’ve got the next result:
Next step we’ll download sets of brushes for Adobe Photoshop, named: c130_splatter , Old_paper_brushes_by_Annette29 and Seu_Davi. On the next new layer we’ll choose the next brush from c130_splatter set. Use this brush to add some brushstrokes on the canvas with black color (Opacity – 20%). Place the layer under the model’s layer and the layers’ group:

Add some brushstrokes on the canvas using the next brushes from Seu_Davi set.
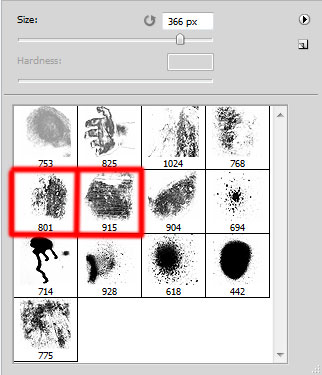
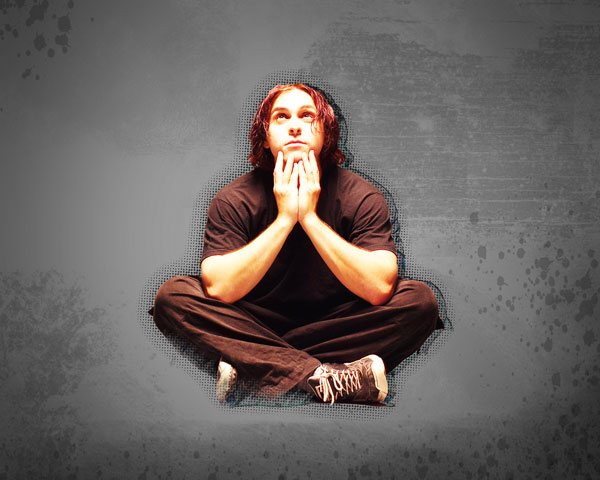
We’ve got the next result:
Create a new layer and choose the next brush from c130_splatterset. The brush have black color.
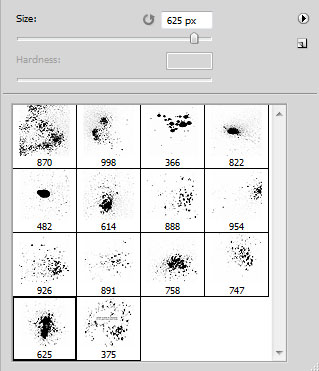
Change the Opacity value and add some brushstrokes as shown. Place this layer under the model’s layer: