Surreal Flying Brain Photo Manipulation Tutorial
First of all, this tutorial will be using a set of Hair Photoshop brushes by TrissteBrushes. You can find the download link to it in the tutorial resources below. You should install the brush before starting this tutorial.You will also notice that this tutorial starts off with Photoshop CS3 then switches to CS4. Well, I was using Photoshop CS3 but my computer had some problems so I had to borrow my husbands laptop which only had Photoshop CS4. Please excuse me for this.
Tutorial Resources
Step 1
Create a new file with a width and height of 4000 pixels.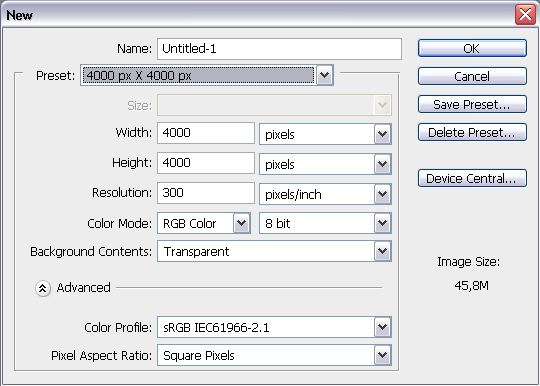
Step 2
Open the Sky image. Copy and paste it it to your main document. To do this, Go to Select > All, copy (Ctrl/Cmd+C), switch back to your main document and paste (Ctrl/Cmd+V). Delete your background layer.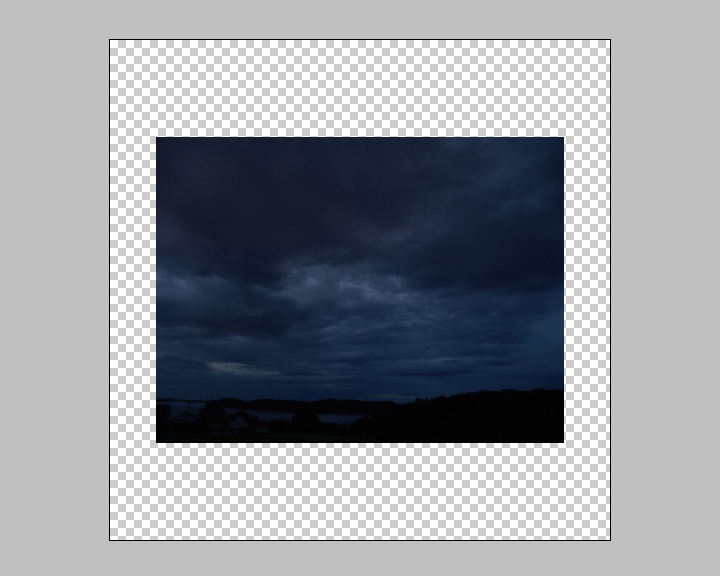
Step 3
Use the Free Transform tool (Ctrl/Cmd+T or Edit > Free Transform)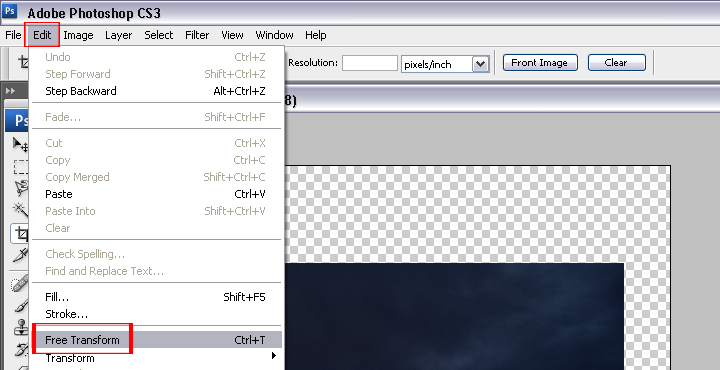
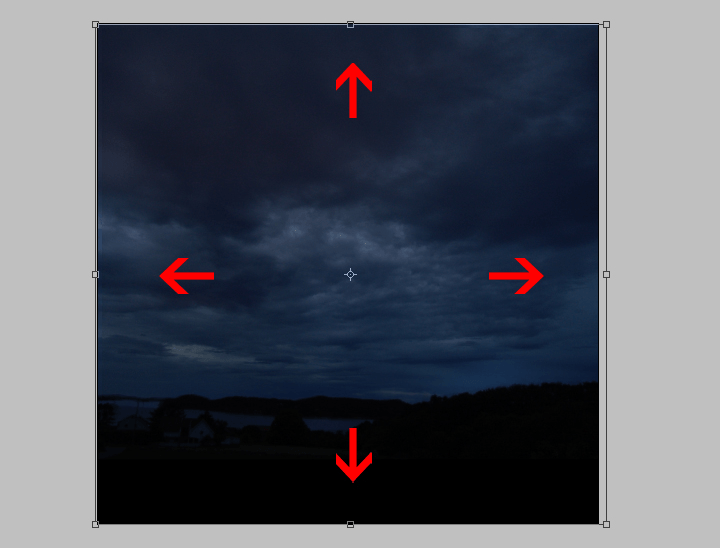
Step 4
Create a new layer above the sky layer (Ctrl/Cmd+Shift+N or Layer > New > Layer).
Step 5
First, set your foreground color to white and background to black – you can do this quickly by pressing D then X on your keyboard. Select the Brush tool (B). Using a large and soft brush (1100px, 0 hardness), paint a curve around the sky like shown in the image below.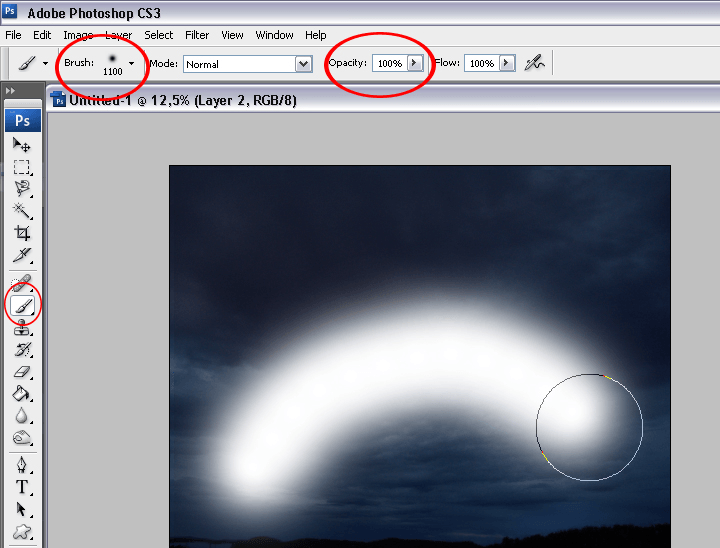
Step 6
Go to Filter > Blur > Gaussian Blur and apply a blur of 250 pixels.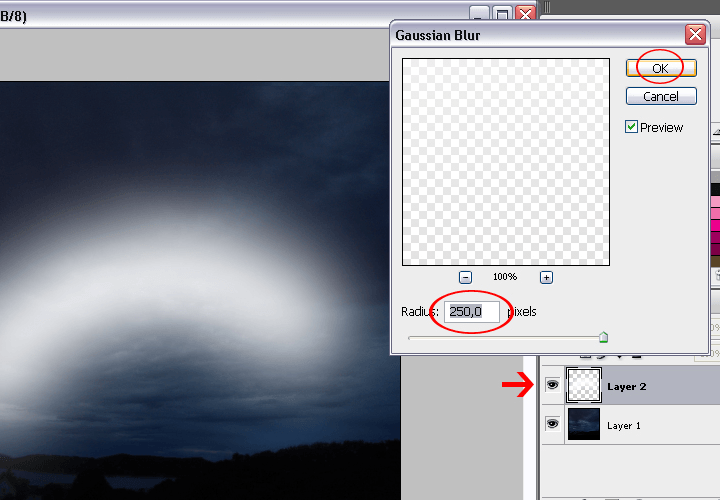
Step 7
Set the blending mode to Overlay. Duplicate the current layer (Ctrl/Cmd+J) then set the opacity of the new layer to 60%.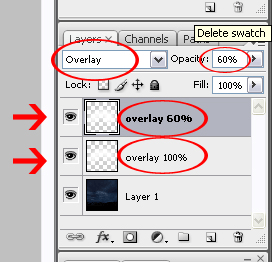
Step 8
Select both layers then right-click and choose “Create Clipping Mask”.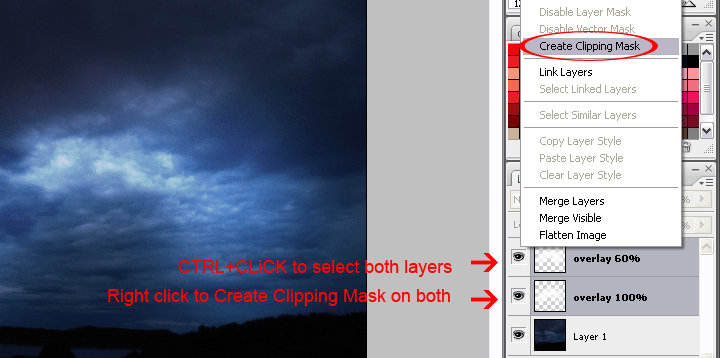
Step 9
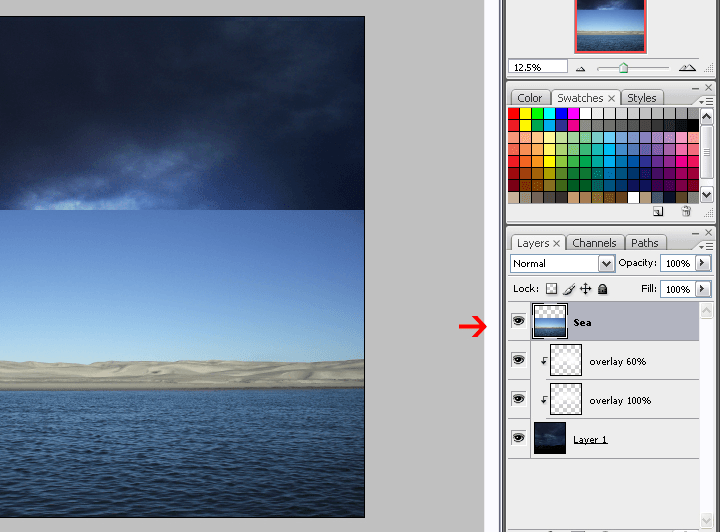
Open the Sea image then copy and paste it to your main document. To do this, go to File > Open to open the sea image. Go to Select > All then Edit > Copy. Switch back to your main document and go to Edit > Paste. Position this layer as the top layer.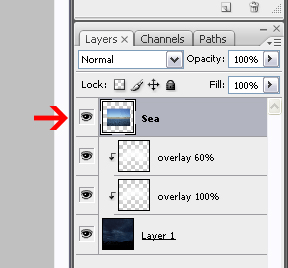
Step 10
Use the Free Transform tool (Ctrl/Cmd+T or Edit > Free Transform) to scale the image like shown in the image below.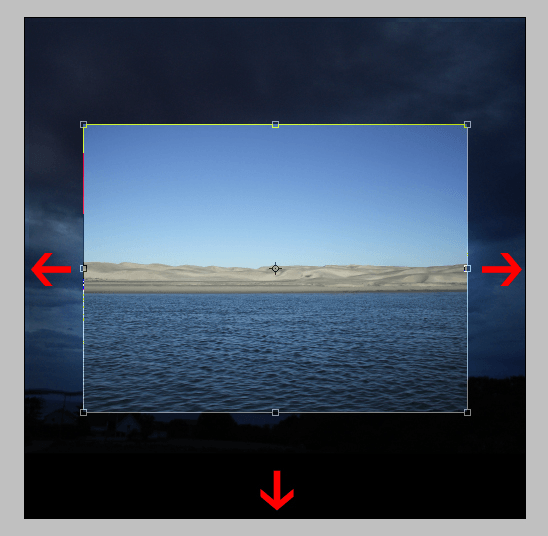
Step 11
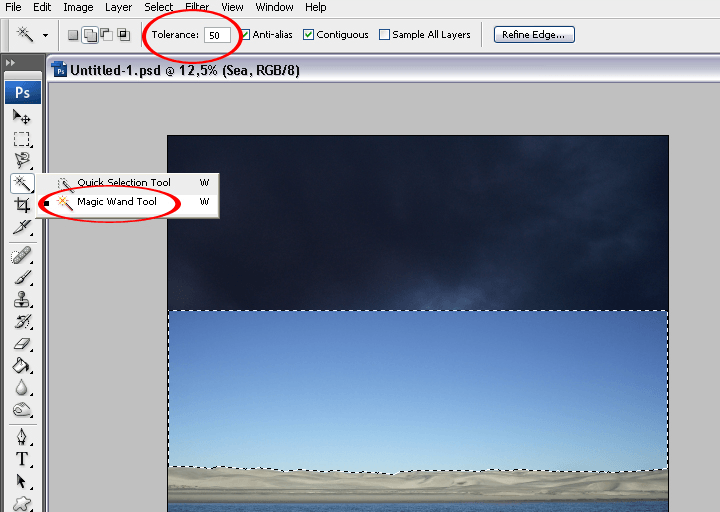
Now we’re going to create a selection of the sky. Select the Magic Wand tool (W) then set the tolerance to 50%. Click on the sky then press Delete on your keyboard to delete the selected area.