How to Create Layered Panorama PSD with with Microsoft ICE
Step 1
Download and install Microsoft ICE from the link below. Microsoft ICE is only compatible with Windows (sorry Mac users).Microsoft Image Composite Editor
Step 2
Run Microsoft ICE then go to File > New Panorama. If your panorama is created using a robotic head like the GigaPan, then choose File > New Structured Panorama.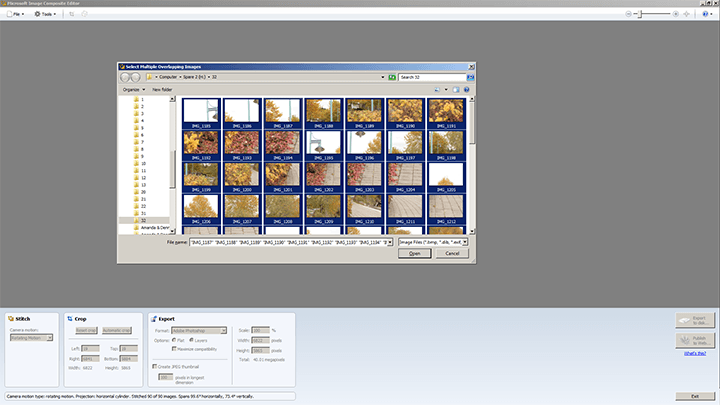
Step 3
If you are creating a structured panorama, Microsoft ICE will automatically detect the settings for you. If everything looks alright, click OK. If you have a GigaPan or other robotic panoramic heads, this Structured Panorama tool will be very useful for you. I found better and more consistent results with this tool than Gigapan Stitch.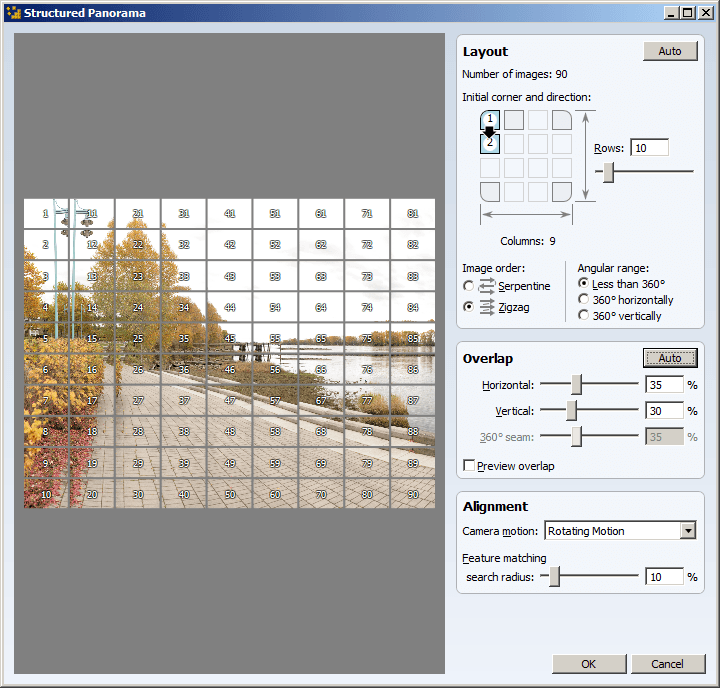
Step 4
Microsoft ICE will now render your panorama. This may take a minute or more but it’s a lot faster than Photoshop’s Photomerge. Here’s a screenshot of Microsoft ICE when it’s done processing your panorama.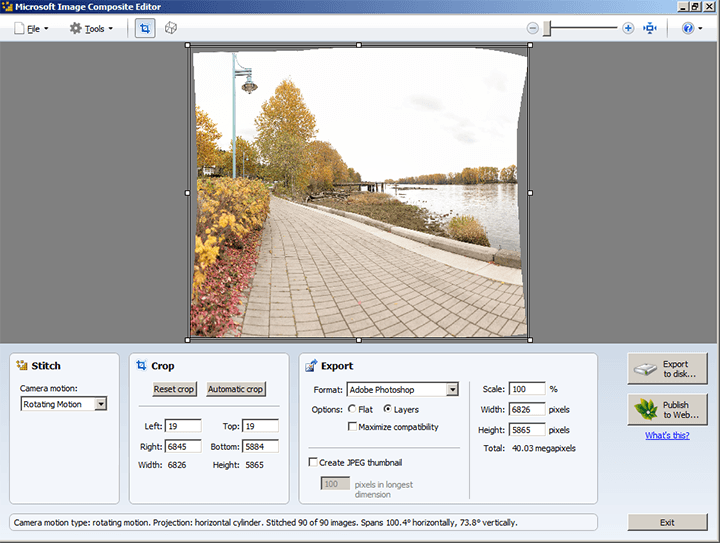
Step 5
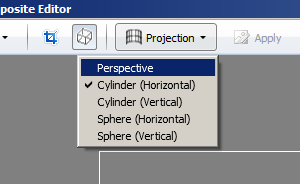
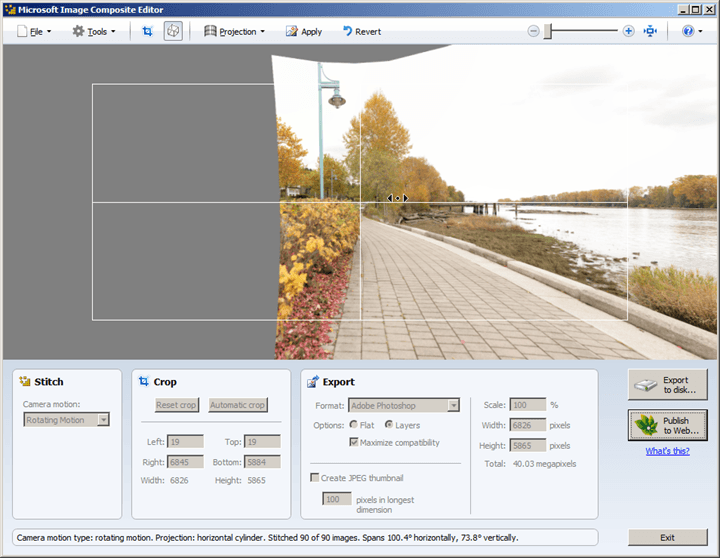
Most of the time, ICE does a fine job detecting your images and creating a best panorama out of it. If the panorama doesn’t look good, you can tweak the projection method by clicking on theon the top. This will bring you the Projection menu where you can change the type of projection. For our panorama, we can fix this by changing the projection from Cylinder (Horizontal) to Perspective.

Step 6
Once everything looks good, you can crop it and save the image. We prefer to leave the cropping to be done in Photoshop or Lightroom so we won’t be cropping it. Before you save, set your Export settings to Adobe Photoshop. Enable Maximize Compatibility if you’ll be using this PSD/PSB file with Lightroom.
Step 7
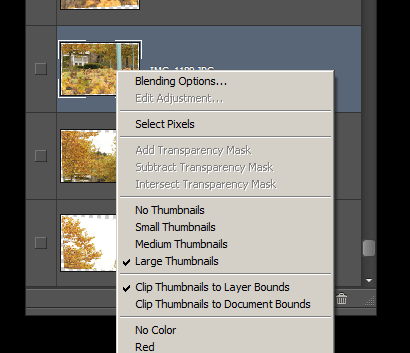
Open the PSD/PSB file into Photoshop. You’ll see a lot of layers but the only one that matters right now is the Composite layer found on the very bottom. Hold Alt and click on the visibility icon so that only the Composite layer is visible.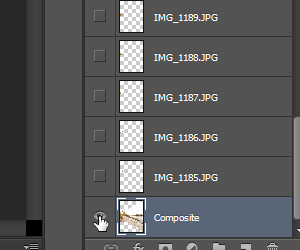
Step 8
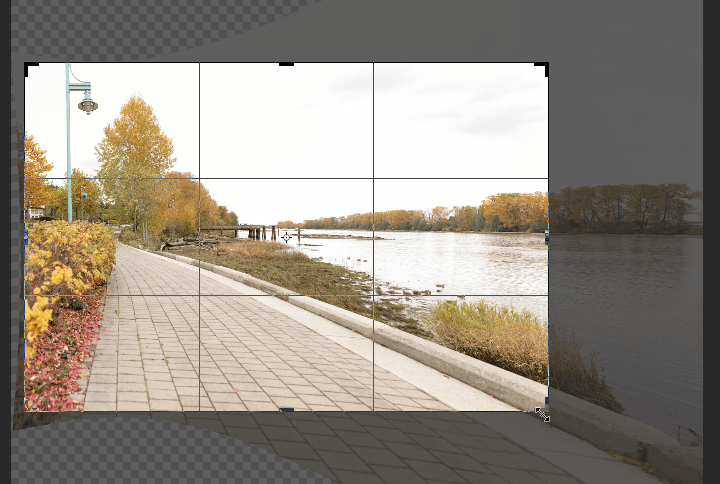
Use the Crop tool to crop the image. Make sure that the “Delete Cropped Pixels” option is disable – this way you can uncrop the image at anytime.
Step 9
You can use layers to remove or add object. For example, I have a problem with this duck and want to remove him from the picture. To do so, find the layer without the duck, add a black layer mask to the layer (Layer > Layer Masks > Hide All), then used the Brush tool (B) with a soft edge to paint over the duck that I want to remove. This is the benefit of working on a layered panorama.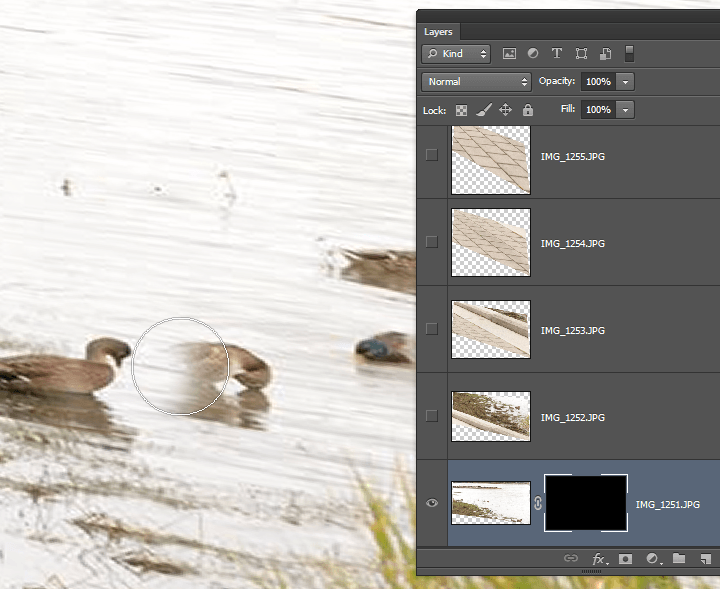
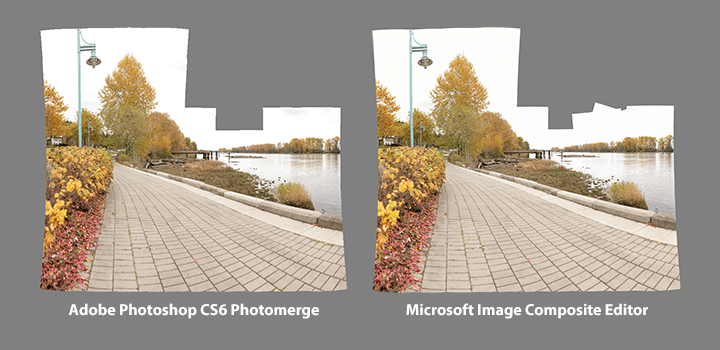
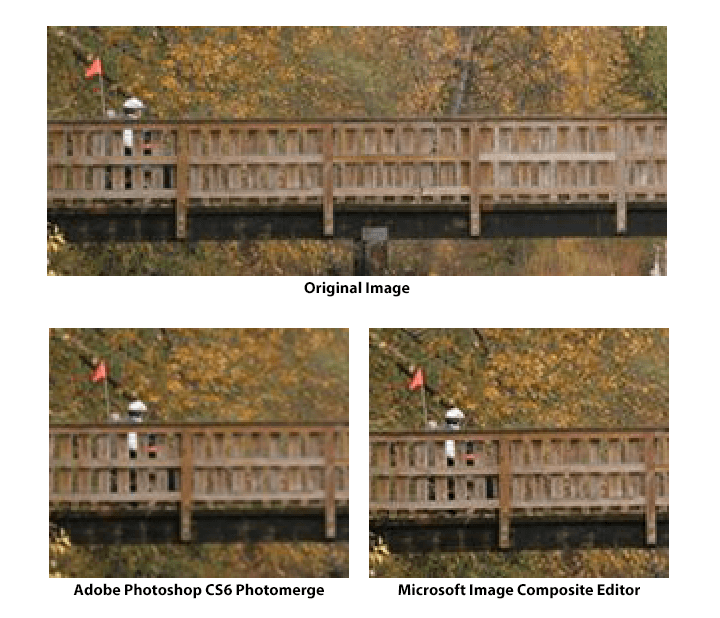
Why use Microsoft ICE?
Both ICE and Photomerge do a great job stitching panoramas. The panoramas look almost identical and had the same errors with complex panoramas.